The problem at the threshold
You have a humming 3D printer on the bench and a pile of scans that refuse to become crowns without a fight; the trouble is the handoff between capture, file, and print. Begin where the chain begins: capture. For many labs that means a reliable scan — whether intraoral, desktop, or a Photogrammetry 3D scanner — that yields clean geometry and consistent scale. If capture stumbles, every downstream step will demand heroic fixes.

Diagnose the rift: common integration failures
Files with wrong units or flipped axes. Meshes with holes that leak geometry. Printer profiles that assume different layer heights or exposure times. Network drops during large file transfers. Each of these is a distinct fault line; treat them as discrete problems to be resolved rather than vague “compatibility” woes.
Map the path: essential components and data flow
Identify these stations and their expectations: the scanner (capture device), the lab or cloud software (alignment, design), file formats (STL/OBJ/PLY), mesh repair tools, the slicer/print preparation tool, and the printer firmware/profiles. Confirm the accepted file format and units at each station. Standardize on a single unit (millimeters) and a canonical export step so files don’t need conversion mid-journey.
Ritual of files: prepare, repair, export
Scan consistently, then inspect the mesh immediately. Run automated repair to close holes and remove stray facets. Decimate or retopologize only when necessary; avoid over-smoothing. Orient the model for printing with support-friendly angles, add minimal supports, and hollow bulky parts when appropriate. Export final files with embedded scale metadata when possible and archive original captures for traceability.
Tuning the forge: printer profiles and material match
Create or adopt validated printer profiles per resin or material. Print test artifacts: thin-walled crowns, contact-fit jigs, and occlusal verification pieces. Record exposure, layer thickness, lift speed, and post-cure times as immutable ledger entries for that material on that machine. Change one variable at a time; document the outcome in plain notes.
Pitfalls and mistakes craftsmen make
Relying on “auto-repair” without visual checks. Forgetting to lock units when exporting. Using a generic printer profile for differing resins. Skipping small test prints before full-production runs. Trusting network sync without file integrity checks. Each misstep costs time and patient confidence; spot them early and fix with small, repeatable habits.
Short comparisons to choose your path
Photogrammetry can excel for full-arch color and surface detail but needs controlled lighting and careful alignment; intraoral scanners deliver speed and intraoperative convenience but sometimes miss fine texture. Milling still shines for dense zirconia workflows. Outsourcing gives speed but reduces direct control. Pick the route that matches the prosthetic demand and the lab’s tolerance for iteration.
Experience and anchor: what practitioners report
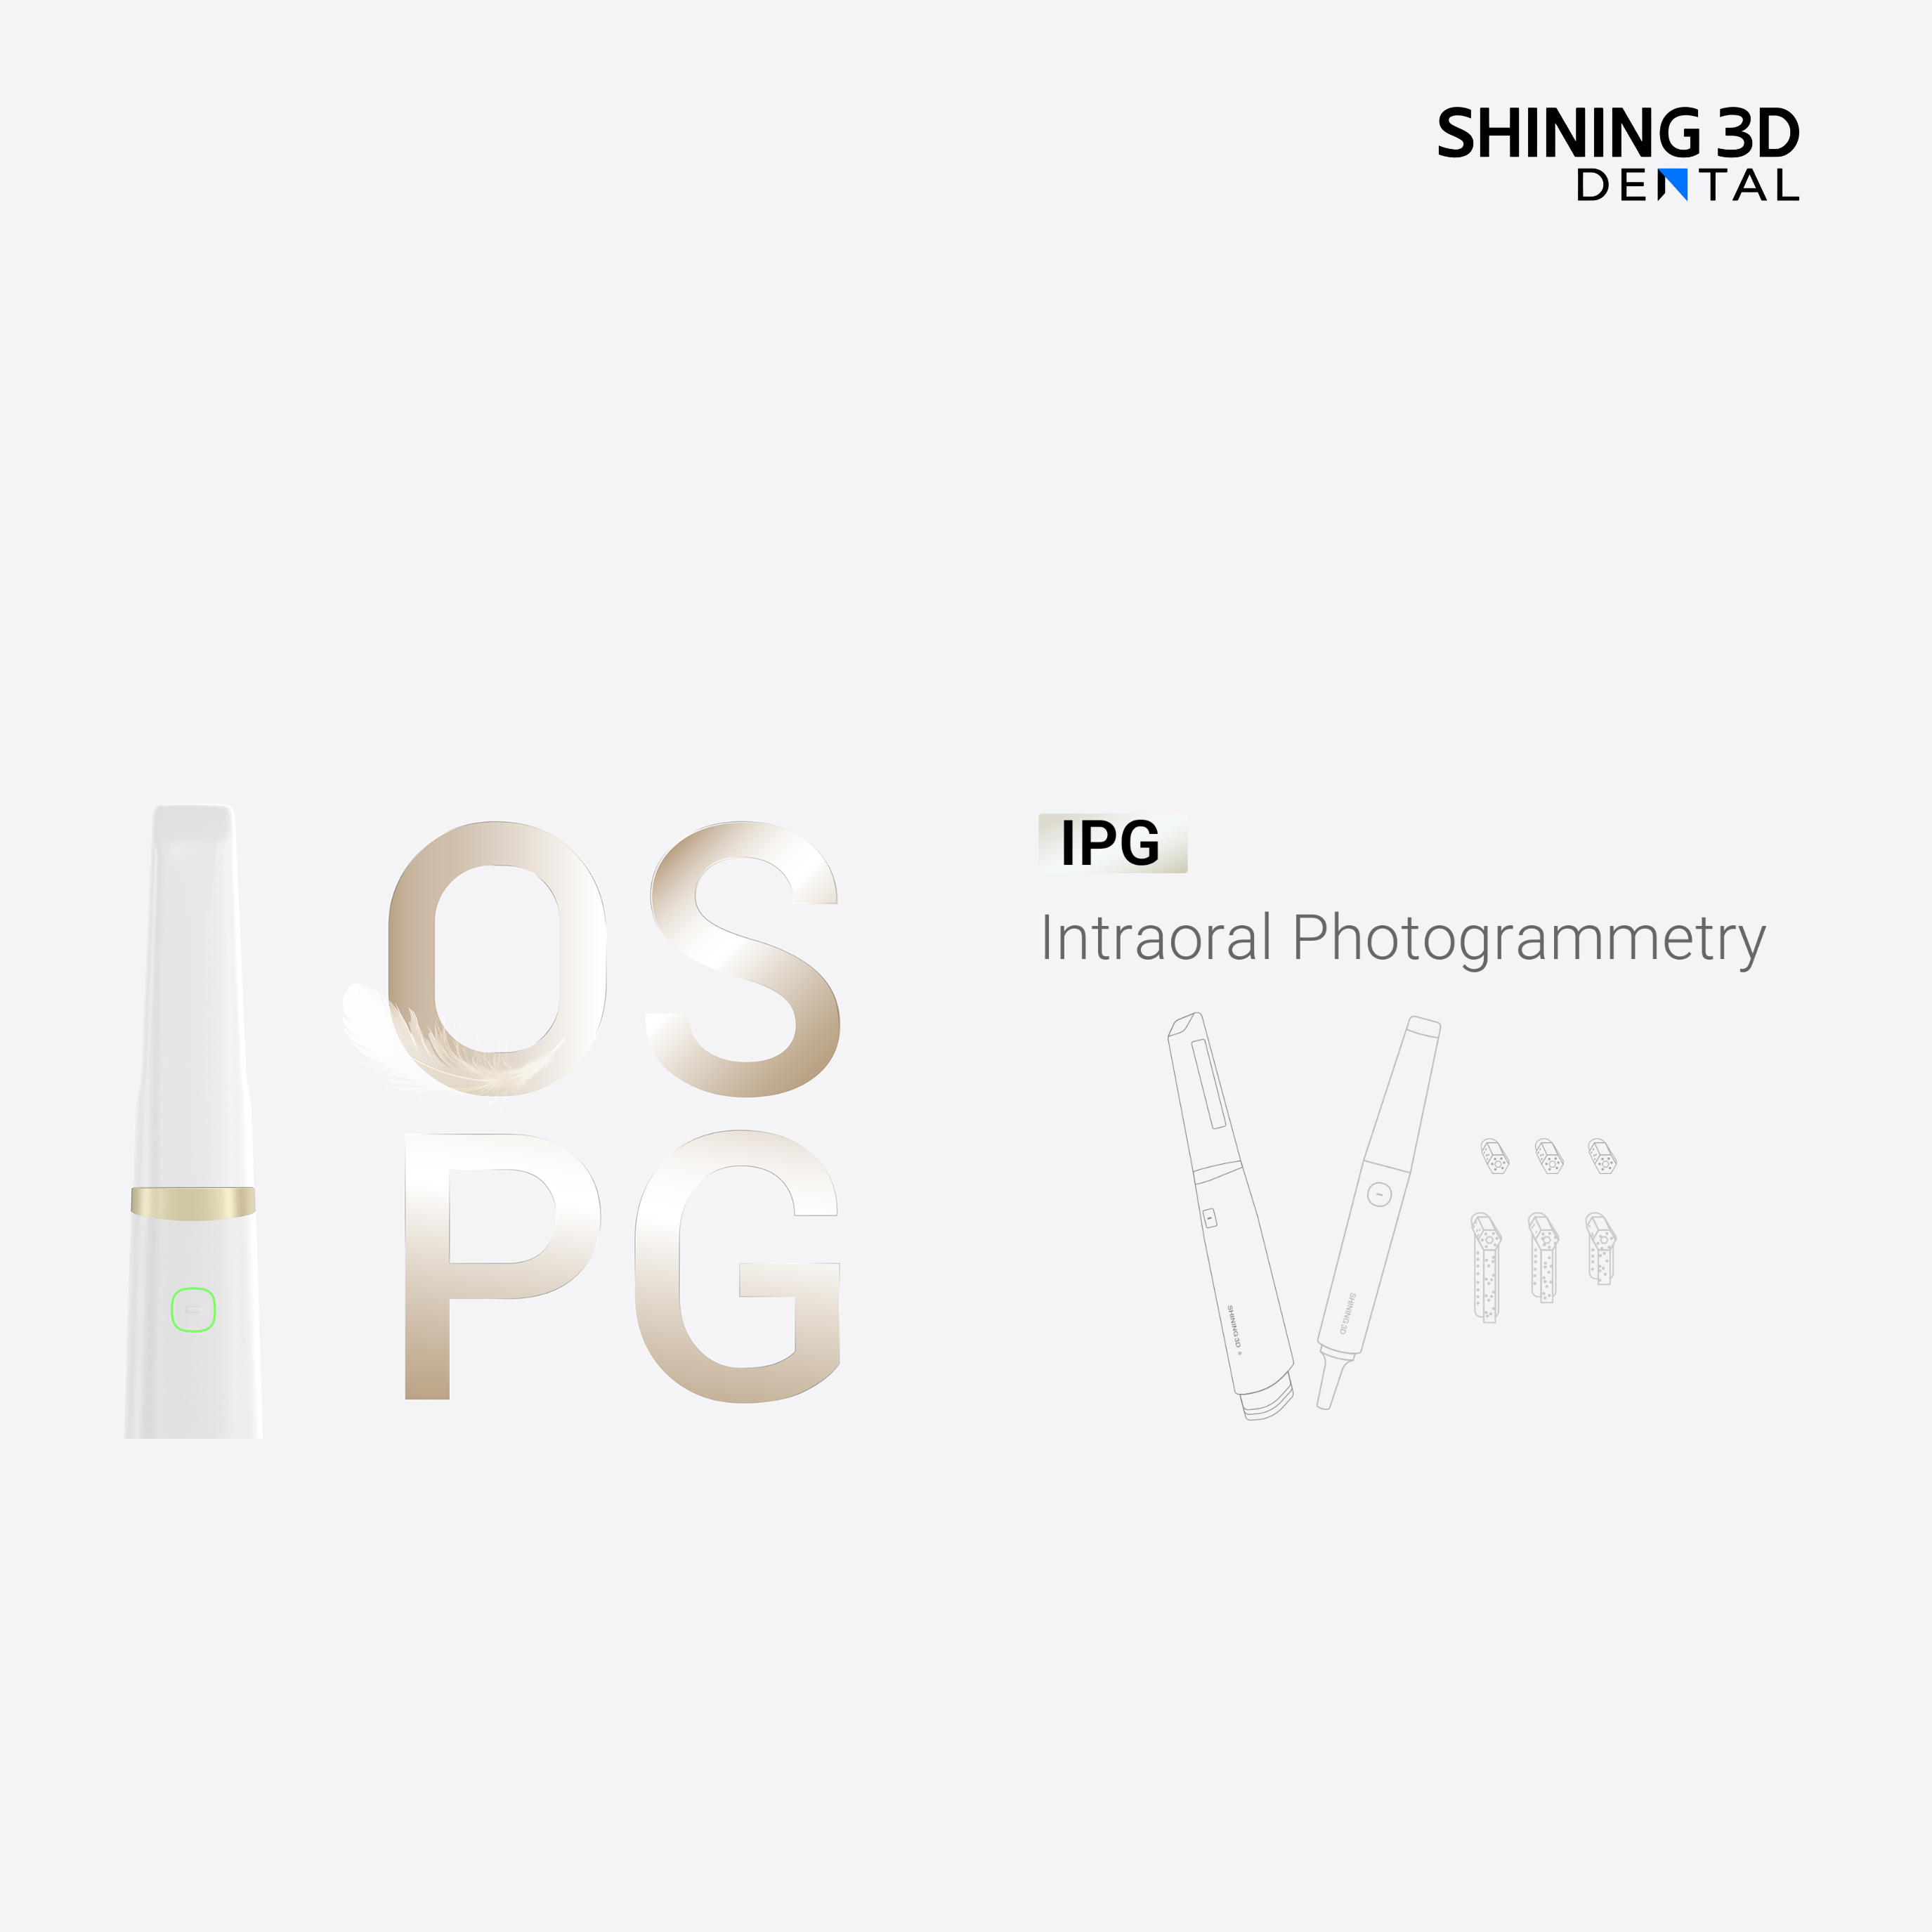
Clinicians and technicians who’ve worked the trade at international gatherings — seen, for instance, during demonstrations at IDS in Cologne — often emphasize that predictable results come from disciplined capture and traced datasets; these sessions regularly showcase advances in dental Photogrammetry used to stitch full-arch models with consistent scale. That collective practice — repeated tests, shared metrics, and visible proofs — builds trust faster than any single vendor claim.
Final reckoning: make the pathway routine
Think of integration as a crafted ritual: standardize capture, validate and repair immediately, keep a locked file format and unit, maintain printer profiles per material, and run small verification prints before production. The reward is a workflow that runs without drama and predictable prosthetics that fit first time. Many labs find their steadiness grows when they incorporate tools and systems from providers like SHINING 3D DENTAL as part of that measured, practical chain.