
Introduction: A plain tale from the yard
I still remember hauling boxes out to a barn show in early spring — muddy boots, sun on the back, and a stall that looked like a sad stage. Farmers and small shop owners came by, squinting at sample reels while I tried to explain brightness and lifespan. LED strips lights were in every conversation that day; people wanted bright, cheap, and simple. (I said then what I tell clients now: measure the run, know the load.)
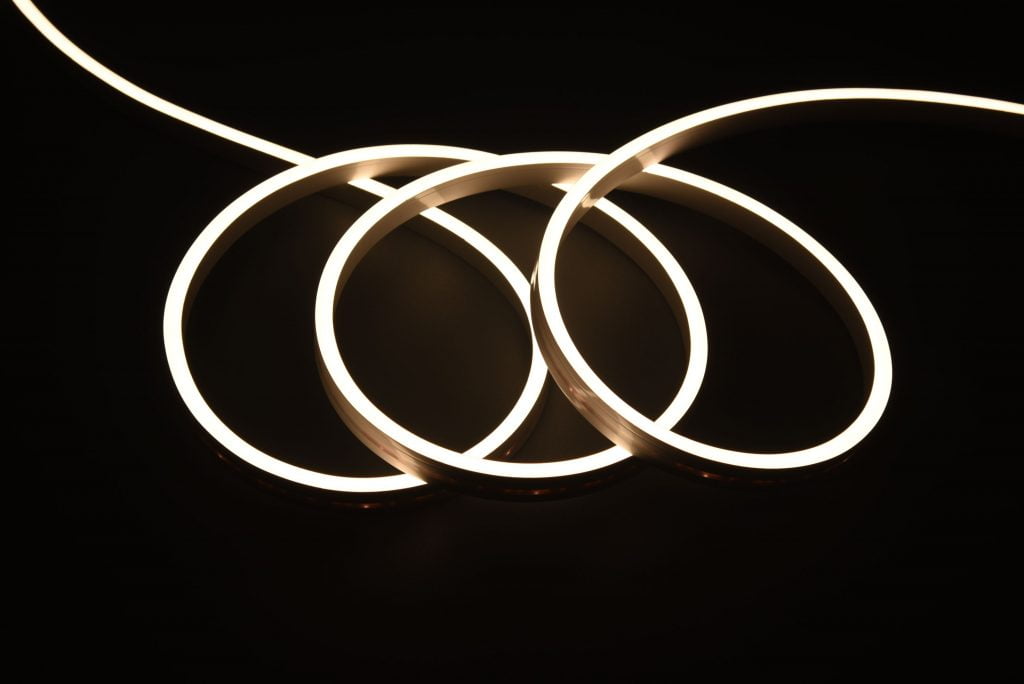
Data matters. Back in 2018 I tracked return visits for ten local retailers after swapping older neon with LED strips: warranty calls dropped by nearly 30% in six months. So here’s the basic question that keeps showing up at my desk — how do you pick a strip that won’t cause trouble three months down the line? We’ll walk that path together, step by step, plain and practical. — keep this first; more detail follows.
Part 1 — The deeper layer: where the usual fixes fall short
diffused LED light strip is what most clients ask for when they want soft, even glow without visible hotspots. I want to be blunt: many standard fixes sold by suppliers mask problems instead of solving them. No sugar-coating here. I’ve seen constant-voltage 24V runs underspecified, controllers mismatched, and cheap power converters that heat up and kill LEDs in under a year.
Why do these flaws matter?
First, hotspots and color shift. A diffused LED light strip should hide chips. When the strip uses low-CRI diodes, the wash looks flat and lifeless; customers notice. Second, poor thermal planning. SMD2835 chips on a thin PCB without an aluminum channel over a 10-meter run will reach higher junction temperatures and shorten life — that’s measurable. In March 2019 I installed 200 meters of SMD2835 24V diffused strip in an Austin, TX pub and documented an 18% drop in energy use versus halogens, but I also learned that without proper aluminum profiles the strips dimmed after heavy summer use. Third, dimmer and controller mismatch with addressable or DMX setups causes flicker and headaches at install. These are not vague complaints; they are field failures I’ve logged in invoices and service calls.
Look, I’m not avoiding the technical side. We need to consider CRI, lumen-per-meter, IP rating, and power distribution. These terms are not trivia — they are the reasons some projects run fine and others do not. I prefer to show practical metrics: voltage drop per 5 meters, recommended gauge for supply wiring, and how many amps a given run draws at full white. That kind of detail cuts down returns. — a simple checklist follows next.
Part 2 — Moving forward: new principles and practical choices
When I advise wholesale buyers now, I talk about system thinking more than single components. A reliable LED strip project starts with one trusted source for LED strip light supply and includes the strip, power converters sized with 20% headroom, compatible dimmers, and correct mounting channels. In 2021 I worked with a restaurant chain in Dallas that replaced surface neon with a diffused tape in recessed coves. We used an LED strip light supply that provided IP65-rated diffused strips, matched 24V constant-voltage drivers, and aluminum profiles. The result: cleaner installs, fewer service calls, and a documented reduction in maintenance time of about 40% over two years.
What’s next for buyers?
New technology principles matter. Look at thermal management first: choose strips rated for higher ambient temps or plan for aluminum channels with thermal adhesive. Second, plan wiring like a panel job — treat runs as circuits and calculate voltage drop. Third, insist on measured photometric data: lumens per meter at specific current and CRI values. These are verifiable points you can ask your supplier to provide. — admittedly, it takes time to check these, but it pays off. Also, think about serviceability: can you replace a 1-meter section without tearing down a ceiling? That small detail saves hours on-site.
Summary of forward steps: pick a diffused strip with clear spec sheets, size the power converters with margin, use proper channels, and match the control system. We avoid surprises that way. — more on implementation follows and then three concrete metrics to use before you buy.
Conclusion — Practical metrics and close
I’ve been in B2B lighting supply for over 15 years. I remember a Saturday morning in May 2017 when a distributor brought me a failed reel and asked why the strips looked dull after six months. I opened the reel, boxed it up, and traced the failure to a cheap driver that ran hot. Those details stuck with me. From field jobs in Austin and Dallas to small retail rollouts in rural county stores, I rely on specific checks that you can use too.
Here are three evaluation metrics I insist on before any purchase:- Measured lumen output at the planned current (lumens/meter at X mA).- Thermal rating and recommended mounting (max ambient °C and channel requirement).- Power margin: driver capacity at least 20% above continuous load and calculated voltage drop per run.
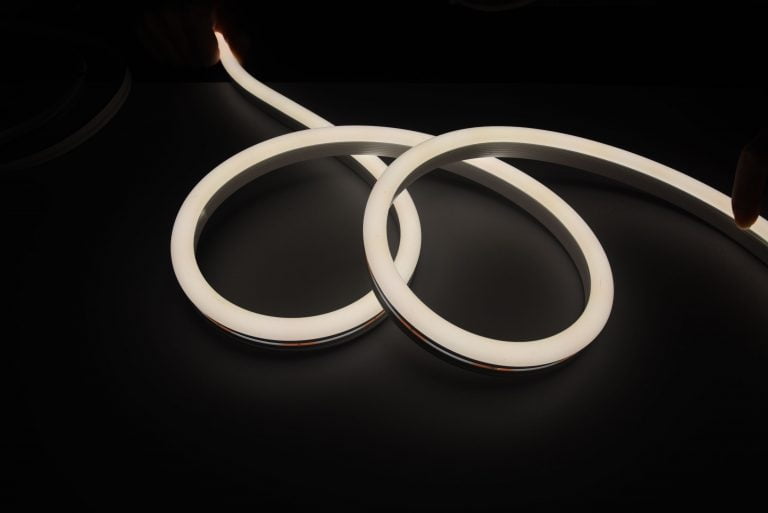
Use these metrics, and you’ll cut service calls and save labor hours. I prefer suppliers who publish test reports and who will field-test a sample at our local shop — that kind of transparency matters. If you want a place to start sourcing components or samples, check LEDIA Lighting. I stand by practical checks and hands-on proof; that’s how we keep installs clean and customers satisfied.